DockerSpring 2026
We use Docker to simplify setup and maintain a common working environment across a wide variety of student machines. Projects 2, 3, 4, and 5 distribute development containers with all necessary tools included to complete the projects pre-installed, and Projects 3, 4, and 5 also distribute GUI applications for use through Docker.
With Docker, there is no more time spent configuring your environment — simply clone the starter files, press a button in Visual Studio Code, and you’re up and coding.
Introduction
Docker is a container framework, allowing the running of tiny versions of operating systems and tools in an isolated environment on your machine. Docker produces containers from images, which are exact “recipes” for building a container, allowing (more or less) the exact same environment, or container, to be produced on any computer. Docker is widely used in industry — you might imagine that being able to easily produce the exact same environment for an application on any computer would be a desirable trait — and you might also imagine that it would be desirable to us for the same reason!
When you run an image in Docker, it first uses that “recipe” to get some background information about what operating system it should be running in (the “base” image; this doesn’t necessarily have to be an operating system, but it often is). It then starts up a container, which is similar to a virtual machine, but much smaller (it shares the “kernel,” or basic operating system functions, with the host to decrease resource usage like CPU, memory, and disk space), to safely isolate the code in the container from your computer, and begins carrying out the instructions of the image to produce the final container. The result is what seems like a smaller computer running within your own, possibly on a completely different operating system, but without many of the annoyances of virtual machines. (On macOS and some Windows hosts, a virtual machine actually is being run, but this is done transparently by Docker and requires no management from the user.)
This system allows us to include the tools you’ll need for each project in an image, after which a container will be built on your machine with the exact same versions of all the tools that we expect you to be using, with no setup on your part! Even better, Visual Studio Code integrates extremely well with Docker, meaning that VS Code can be run within this Docker container, sharing all of your project files with where they exist on your computer, and allowing you to hardly notice that you’re coding in a container at all. This even works for host machines running an Arm processor — for students with an Apple Silicon Mac, the process will work exactly the same for you, including the same tools!
Installing Docker
The following guide is to be done on your LOCAL Operating System, NOT the VM provided from Project 1: AppSec!
The first step in using Docker is installing it. Navigate to the
Docker Desktop download page,
and download the file corresponding to your current machine (the “host” machine)’s operating system.
For macOS users, it is a typical .dmg installer, and for Windows users,
an .exe installer is included that performs the installation process.
For Linux users, Docker provides packages for multiple distributions;
more information is included in their guides. (We do assume some Linux knowledge
for students who choose to maintain a Linux host in this guide,
but if you’re having any difficulties, feel free to reach out to us.)
If you are installing Docker on a Linux host, you should instead install Docker Engine, not Docker Desktop. Docker Desktop seems to cause permissions issues with the volume mounts used in development containers. Docker Engine will still work in a desktop Linux environment.
Windows and Mac Hosts (Docker Desktop)
After installing Docker, ensure you open the Docker Desktop GUI to start the Docker Engine. Ensure that you can see a window for the Docker app, like the screenshot below. This was taken on macOS, but the GUI elements are very similar for Windows.
If you are running a Windows host and Docker Desktop throws an error about the WSL kernel being too low, see troubleshooting tips below.
For this sanity check, you do not need to interact with the Docker GUI anymore. However, please keep it open to keep the Docker Engine running. If you are on Windows, open a terminal window using Windows PowerShell. If you are on macOS, open a terminal window using Terminal.app or your favorite third-party terminal (such as iTerm).
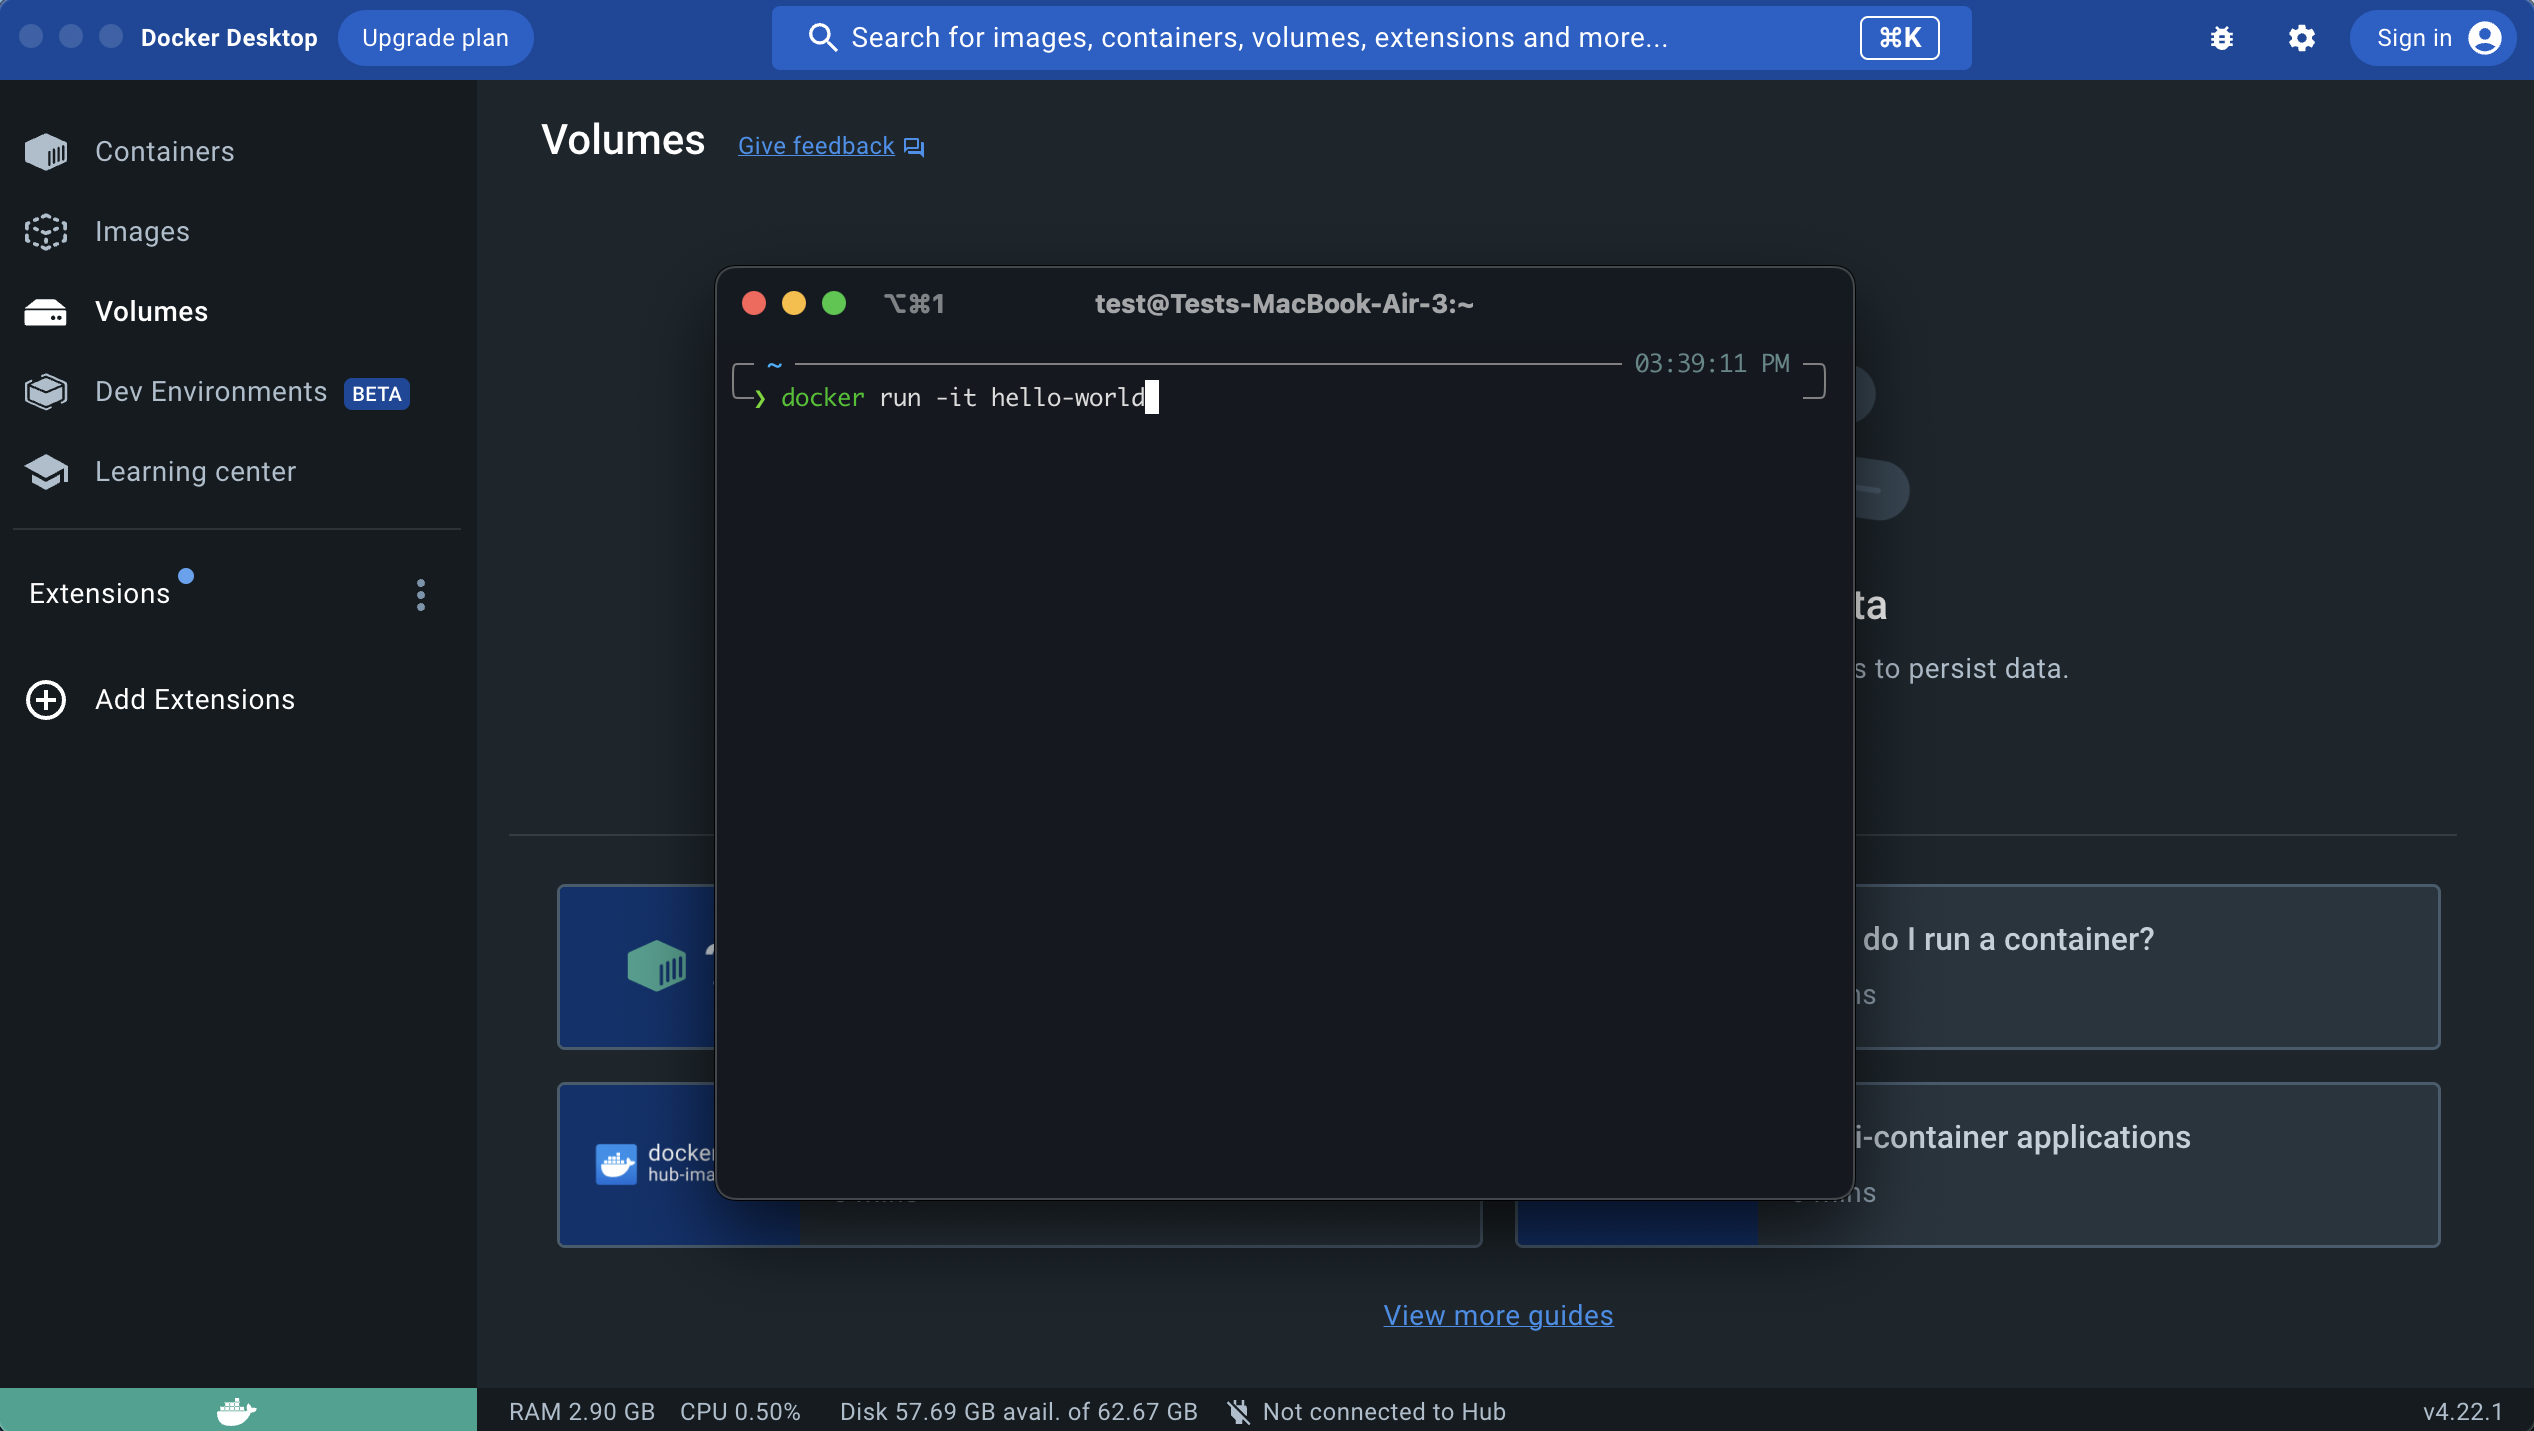
Finally, in your terminal window, run the following command:
$ docker run -it hello-world
Linux Hosts (Docker Engine)
Since Docker Engine comes without a GUI, you can run the following command
directly in your terminal. Note that the Docker Engine requires you to run docker commands as root.
If you prefer not to prepend sudo to every docker command, you can check the Docker docs
on how to manage docker as a non-root user.
$ sudo docker run -it hello-world
Checking Output from Docker
Now, regardless of host, when you attempt to run the hello-world
image, you will see the following output if everything is set up correctly.
Unable to find image 'hello-world:latest' locally
latest: Pulling from library/hello-world
719385e32844: Pull complete
Digest: sha256:926fac19d22aa2d60f1a276b66a20eb765fbeea2db5dbdaafeb456ad8ce81598
Status: Downloaded newer image for hello-world:latest

Hello from Docker!
This message shows that your installation appears to be working correctly.

To generate this message, Docker took the following steps:
 1. The Docker client contacted the Docker daemon.
 2. The Docker daemon pulled the "hello-world" image from the Docker Hub.
    (amd64)
 3. The Docker daemon created a new container from that image which runs the
    executable that produces the output you are currently reading.
 4. The Docker daemon streamed that output to the Docker client, which sent it
    to your terminal.

To try something more ambitious, you can run an Ubuntu container with:
 $ docker run -it ubuntu bash

Share images, automate workflows, and more with a free Docker ID:
 https://hub.docker.com/

For more examples and ideas, visit:
 https://docs.docker.com/get-started/
As the note explains, Docker just did a lot behind the scenes! If you see a similar message, congrats — you are fully ready to start the project!
Running Visual Studio Code in a Container
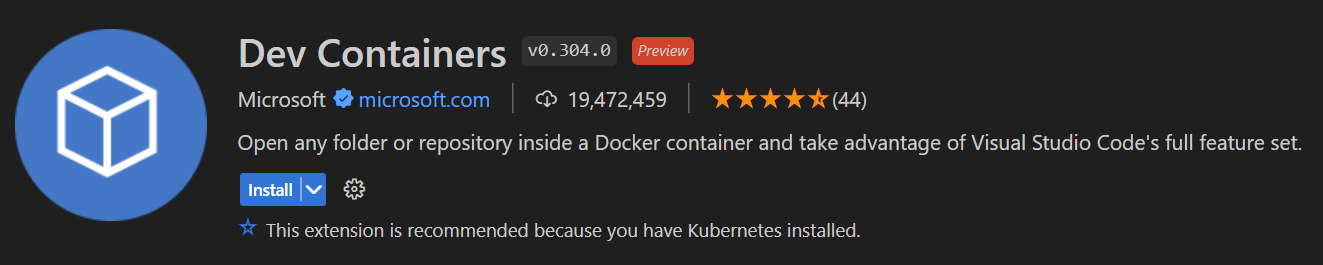
After installing Docker and cloning your project starter files (click here if you need a refresher on how to create and clone your repository), search for and install the “Dev Containers” extension in the VS Code marketplace:
After installing this extension, you may receive a pop-up message to open the current project in a container; if not, open the Command Pallette (Ctrl+Shift+P on Windows/Linux; ⌘+⇧+P on macOS), then type “open folder in container” and select the command:

Ensure that you are selecting the lab or project directory which you cloned from Git, and not its parent directory (otherwise, container creation may fail). After you open the project directory for the first time as a container in VS Code, you can search for “reopen in container” and select the command:

Your VS Code window will close and reopen, and the first time you do this, it may take a few minutes to build the container; its status can be followed in the bottom right of the window. After this finishes, you’ll be greeted with a relatively normal-looking VS Code window, with an exception—looking at the bottom left of the window, you should notice that your environment has changed to “Dev Container”:

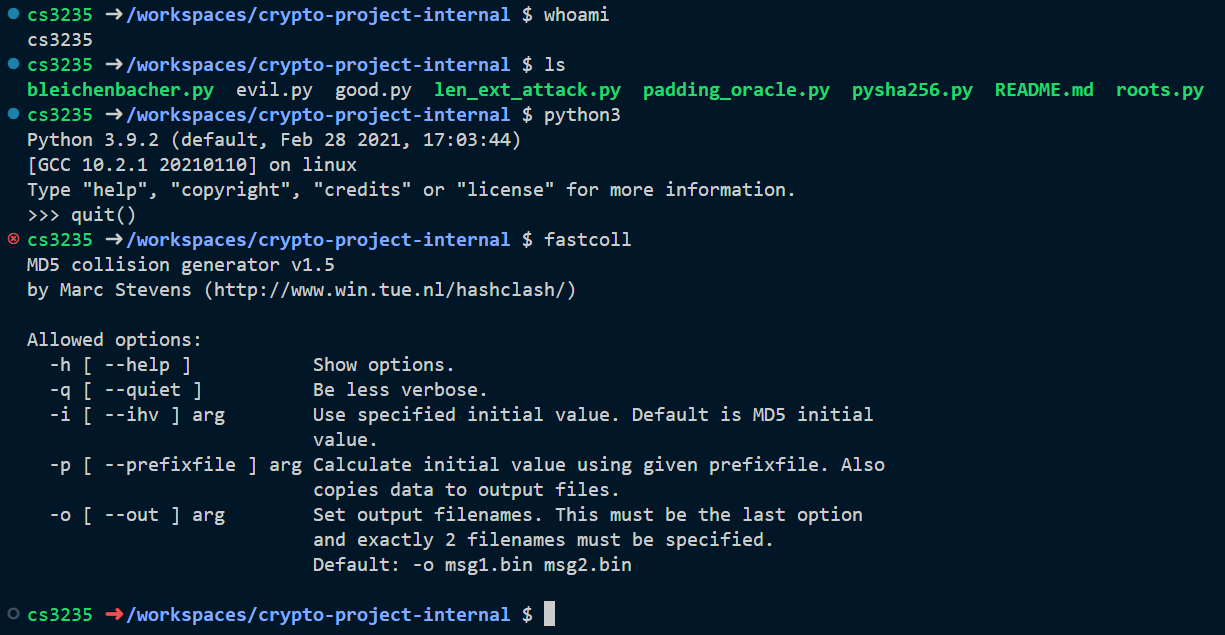
Congrats — that was it; you’re now working within the container! If we open up a terminal in the window, we can further see that we’re in the container:
Any edits you make to the directory within the container will be reflected on your host machine,
and you can even commit from within the container! (The Dev Containers extension will
even copy your .gitconfig file from your host machine so that you keep the same
name and email on your commits from within the container; this is really so cool!)
In addition to editing files and using a terminal in the container,
VS Code also supports debugging code in the container out of the box.
We have provided starter launch.json files for projects where debugging using an IDE makes sense;
you might need to fill in a few values to get started, but after that,
debugging your code will work just like you may have done in other IDEs.
For future projects, you’ll simply need to perform the “reopen in container” step again.
Customizing the Container
While we have included everything necessary for each project, as well as some niceties
like Git, curl, GCC, jq, and others in each project’s container, we know that there might be
some specific tool that you use in your development workflow that we’re missing.
Unfortunately, because containers are built from an exact image, any changes you make to the system
from within the container may be lost at any time.
Luckily, you can still customize the image, and thus the container, further! In each project’s starter files,
you’ll find a .devcontainer folder containing a Dockerfile; here, you can see that
we use a base image of gtinfosec/<project-name>, but also give you room to add your own statements.
You can run commands in the container with RUN; for example, if we wanted to install Emacs
inside the container, we could add the following line:
RUN sudo apt-get update && sudo apt-get install -y emacs
As you might have been able to guess from this line,
the base image used by all of our development containers is Debian Linux.
The update is necessary as Docker doesn’t save some ephemeral files in order to save space;
package lists are one such example.
For each project, we will also include guidance for things we do NOT want you to do in the Dockerfile—for
example, in the Cryptography Project, we note that you should not be installing any additional Python modules
via pip, as you will only have access to the modules which we’ve already installed
when your code is being graded. Customization allows you to install some additional niceties
in the container, but it does not affect the environment in which your code is graded—keep
that in mind.
Reclaiming Resources
Once a project is finished, it can be a good idea to delete its images and containers. It’s not required, but it allows you to reclaim any disk space they were using and ensures they won’t start running in the background when you don’t want them to.
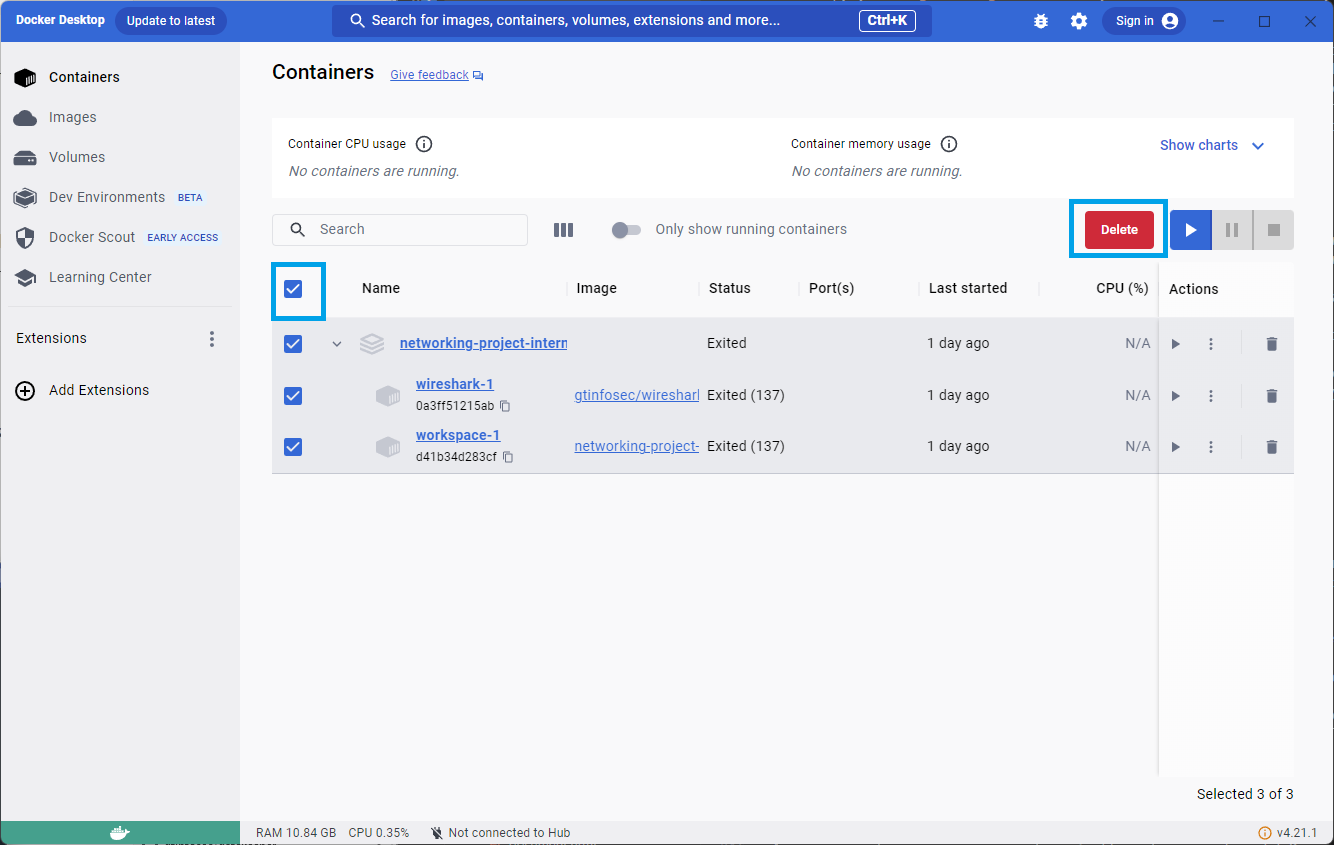
First, select the project containers to delete and delete the containers:
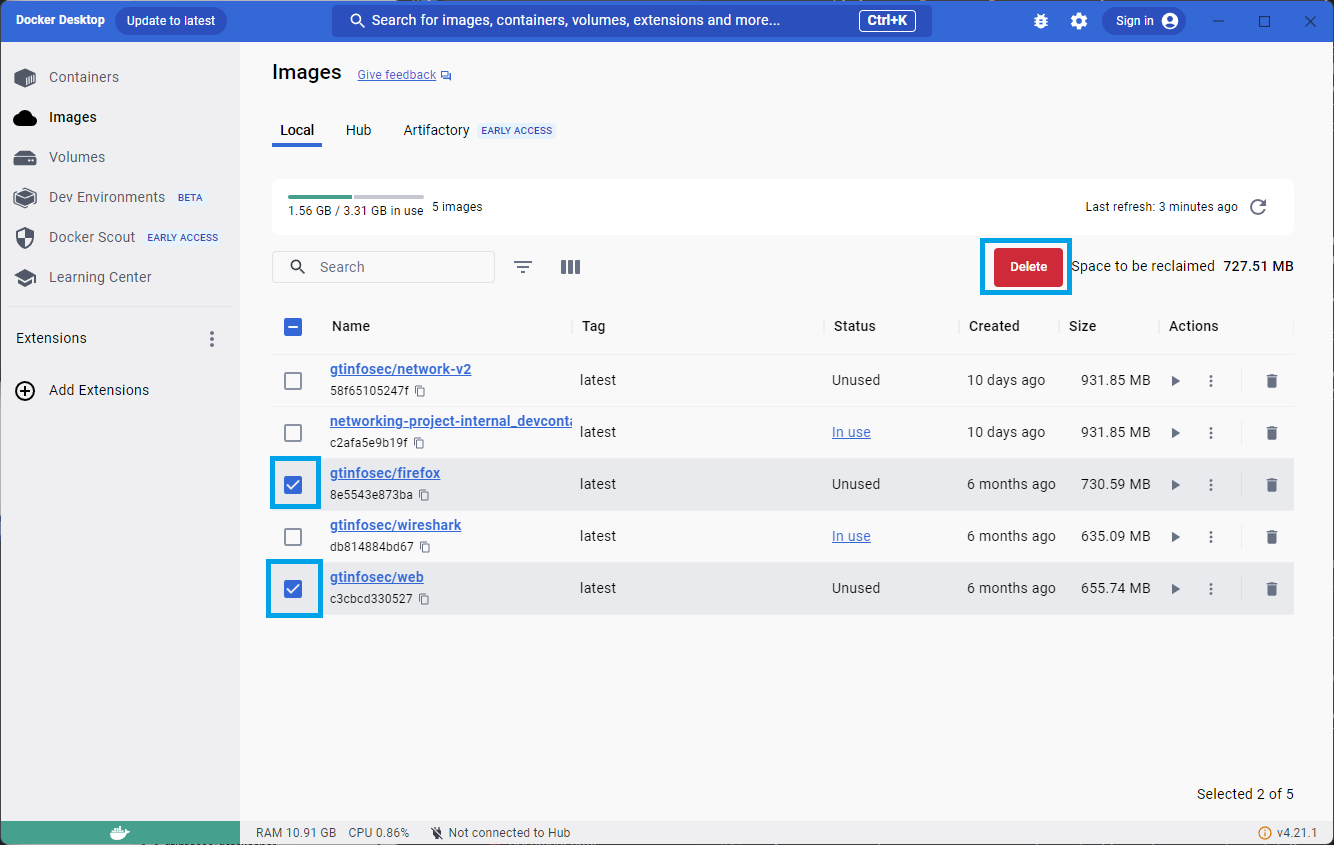
Next, select the images to delete and delete the images:
Finally, run the command docker system prune. This tells Docker to actually erase all the things you’ve just deleted so that they aren’t cached in the background.
If you’re not using Docker Desktop, check the Docker CLI reference for how to delete images and containers, then also run the docker system prune command.
Troubleshooting
As we encounter common issues during office hours and on Ed Discussion, we’ll continually update this section with troubleshooting tips.
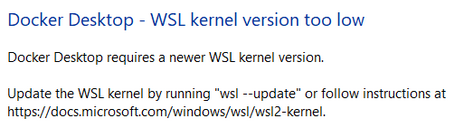
Windows Hosts: Installing WSL
Once you install Docker Desktop and attempt to run it, you may run into an error stating that the WSL kernel version is too low, like the screenshot below:
If this happens, open Windows PowerShell, and run:
$ wsl --install
If the above command does not work, follow steps 1 to 5 outlined in this Microsoft article to enable WSL and update the kernel. Ensure you restart your machine after completing these steps.