Lab 3: GoFall 2023
This lab will introduce you to the basics of Go programming and the usage of GoPacket, which are critical for developing programs in the Networking Project. You will not actively attack servers in this lab; instead, you will understand how to handle packets using the Go language and GoPacket.
Setup
For this lab and the corresponding project, you will be required to write your solutions inside the provided Docker container. It is capable of running all the programs needed and has been configured to automatically set up the required services that are essential to test your solutions for the project. However, if you haven’t set up the Docker environment yet, follow our Docker guide to learn how to set up Docker on your computer.
To get the starter code for this project, follow the steps below:
- Create a repo using the GitHub template. Make sure to make this repo private.
- Clone the repo onto your system (you’ll need to supply your GT credentials for this), then open it in VS Code.
- If you successfully set up Docker, you should be greeted with a pop-up in the bottom right asking you to re-open the directory in the development container; do so now!
- It will take some time to build the container, and once done, you should be able to see the lab files in a directory and a terminal connected to the container (as shown in the Docker guide).
Git Guide: If you’re unfamiliar with using Git/GitHub, check out this guide to help you get started.
Check the Troubleshooting section at the end of this page first if you face issues with setup.
Resources
Primer Video (Important!)
Before you begin the lab, we recommend watching the “Go Introduction” section of the following video. It contains many valuable tips to help you along the lab.
- Primer Video: Wireshark and Go
- Slides: Wireshark and Go Slides
Go Basics
Completing the Tour of Go (especially the contents in the Basic section) will provide fundamental knowledge necessary to complete the coding portions of this lab. The tour will help you complete the lab and the project, but it is optional.
GoPacket
This lab makes use of GoPacket, a packet manipulation and dissection library. GoPacket ships with both the Networking Lab and Project Docker containers. You can find more information about GoPacket at https://godoc.org/github.com/google/gopacket. For specific information regarding components of GoPacket, use the links below:
Feel free to use the search bar that says “Jump to …” to look for information on the website.
PCAP (Packet Capture)
PCAP stands for Packet Capture. In network traffic monitoring and analysis, packets are captured and stored in PCAP files. PCAP files contain a record of network packets, including their headers and payloads, as they travel across a network interface.
PCAP files can be used to detect and mitigate network issues. That is, analyzing these packets can help find misconfigured hosts and security breaches. Inspecting PCAP files are also key components of studying malware and network intrusions. Finally, they let us visualize the OSI model and network protocols at work.
Tools that are commonly used to work with PCAP Files are:
- Wireshark: open-source network protocol analyzer
- tcpdump: command-line packet capture tool
Throughout this lab and project, you will learn to use Wireshark.
Tasks
You will write your code inside the starter files provided for each task. At the end of each task, we have provided a sample output format for that task.
Your output will look similar to the sample output, but we cannot guarantee an exact match. We may also grade your program on test cases that are not part of the starter code. Therefore, do not hardcode your output.
Task 1: Retrieve TCP Packet Data 20 pts
In this task, you will learn how to retrieve TCP packet data using Go and GoPacket.
- Navigate to the
task1folder in the starter files. Understand the code intcp.goand write your code after the line that saysTODO. - Your program will take an argument from the command line, which is the filename of a pcap file. Then, it will retrieve the target packet from the pcap file for further investigation. (This has been configured for you. You do not need to write these functions.)
-
Your goal for this task is to gather the following data:
- TCP packets with either (1) a SYN flag or (2) both a SYN flag and an ACK flag,
- source IP address of the packet, and
- destination IP address of the packet
Print out this data for each packet in a separate line in the terminal using the order given below:
SYN/SYN+ACK
Source IP address
Destination IP address
Run and Test Your Code
In the task1/ directory, we have provided you with a sample pcap file, tcp.pcap, for testing your code. Run the commands below:
$ cd task1/
$ go build tcp.go
$ ./tcp tcp.pcap
Your program should output text that matches the formatting of the sample output below:
SYN
60.35.42.35
42.35.60.35
SYN+ACK
42.35.60.35
60.35.42.35
What to Submit
Write a program in Go that accomplishes the task specified above and submit it to the autograder as tcp.go. You should assume that GoPacket is available, and you may use standard Go libraries, but your program should otherwise be self-contained. We will grade your program using a variety of different pcap files.
Task 2: Retrieve ARP Packet Data 30 pts
In this task, you will learn how to retrieve ARP packet data using Go and GoPacket.
- Navigate to the
task2/folder in the starter files. Understand the code inarp.go, and write your code after the line that saysTODO. - Your program will take an argument from the command line, which is the filename of a pcap file. Then, it will retrieve the target packet from the pcap file for further investigation. (This has been configured for you. You do not need to write these functions.)
- Your goal for this task is to gather the source IP address, source MAC address, destination IP address, and destination MAC address of ARP packets and print it out in separate lines in the terminal in the following order:
Source IP address
Source MAC address
Destination IP address
Destination MAC address
Run and Test Your Code
We have provided a sample pcap file, arp.pcap, in the task2/ directory to test your code. Run the commands below:
$ cd task2/
$ go build arp.go
$ ./arp arp.pcap
42.35.60.35
00:00:00:a1:b2:c3
60.35.42.35
00:00:00:d4:e5:6a
What to Submit
Write a program in Go that accomplishes the task specified above and submit it to the autograder as arp.go. You should assume that GoPacket is available, and you may use standard Go libraries, but your program should otherwise be self-contained. As before, we will grade your program using various pcap files.
Task 3: Modify Packet Contents 50 pts
In this task, you will learn how to modify parts of a TCP packet and how a packet can be generated and written to a pcap file.
- Navigate to the
task3/folder in the starter files. Understand the code inmodtcp.goand write your code after the line that saysTODO. - Your program will take three arguments from the command line. In order, they are:
- The filename of a pcap file,
- The source IP you should use to overwrite the packet, and
- The destination IP for overwriting.
- As before, the starter code will retrieve the target packet from the pcap file. This has been configured for you; you do not need to implement these features.
- Your goal for this task is to modify the origin packet’s source and destination IP address according to the command-line arguments.
- Once the modifications are made, your program will seal off the packet and save it in a newly created pcap file named
modified_tcp.pcap. (Again, this functionality has already been configured for you. You do not need to code these functions).
Run and Test Your Code
We have provided a sample pcap file, tcp.pcap, in the task3/ directory to test your code. Run the commands below:
$ cd task3/
$ go build modtcp.go (This command should output an executable binary named modtcp)
$ ./modtcp tcp.pcap [New Source IP] [New Destination IP]
192.168.2.160 and 192.168.2.135 as the source and destination IP addresses to modify tcp.pcap:

To verify the program’s correctness, you can use Wireshark to inspect the data in the PCAP. You’ll use Wireshark a lot more in the project, but here, we’ll use it just to make sure that the source and destination IP addresses have been overwritten. Further, we’ll use it ensure that the packet is correctly formed.
Open a web browser on your host machine (while the Docker container for this lab is running), and navigate to http://localhost:4235. This will open Wireshark inside your web browser, with a UI similar to the screenshot below. Open modified_tcp.pcap, whose contents should fill the viewing window. If you face issues here (e.g., modified_tcp.pcap and other files do not appear in Wireshark’s prompt to open files), refer to the Troubleshooting section at the end of this document.

Ensure that the following fields match that of the screenshot:
- Source: 192.168.2.160
- Destination: 192.168.2.135
- Protocol: TCP
Finally, an important note: modtcp cannot overwrite modified_tcp.pcap if the file already exists. Delete the old modified_tcp.pcap before re-running modtcp for your changes to be visible:
$ rm modified_tcp.pcap
Hint: Part of the starter code forms a new packet. To do so, all layers of the OSI model need to be provided as function arguments, starting with the Ethernet layer, then the IP layer, and upwards.
What to Submit
Write a program in Go that accomplishes the task specified above and submit it to the autograder as modtcp.go. You should assume that GoPacket is available, and you may use standard Go libraries, but your program should otherwise be self-contained. As before, we will grade your program on several different pcap files and input arguments.
Submission
Submit the following file to the Autograder by the deadline:
tcp.goarp.gomodtcp.go
Troubleshooting
We will update this section with solutions to common issues that are encountered during Office Hours and on Piazza over the course of the lab.
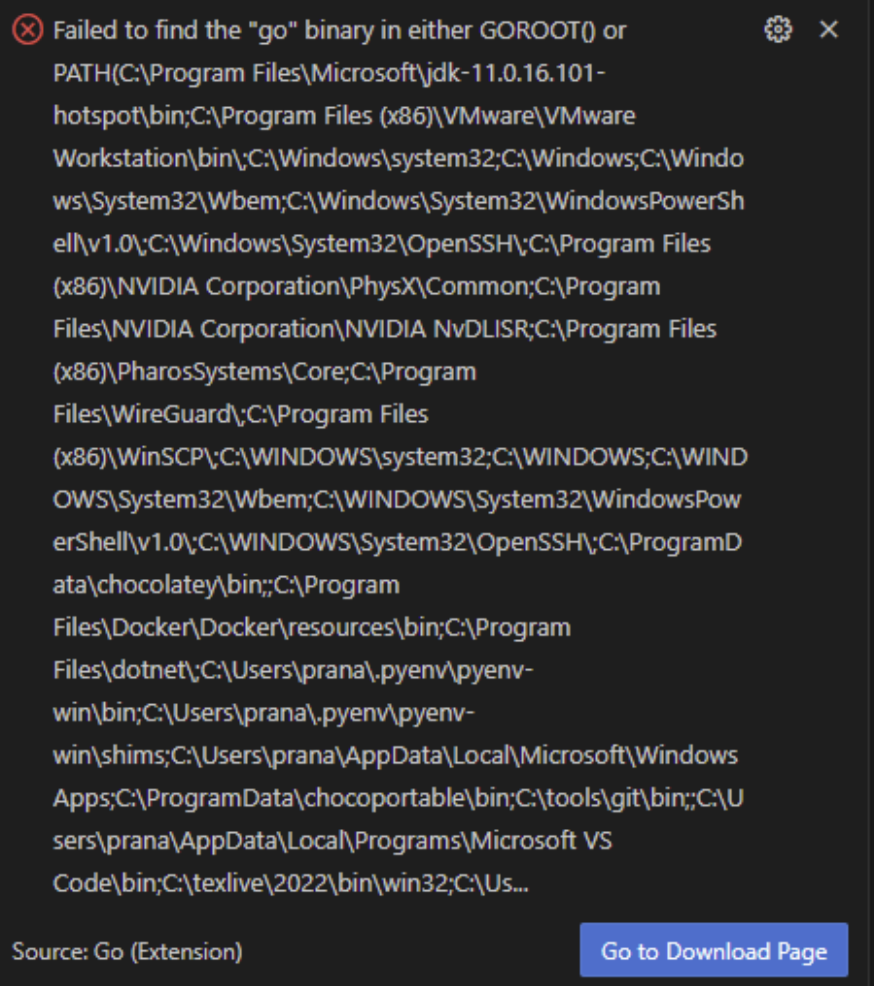
Cloning Error on Windows Hosts
On Windows machines, you may see the error below while setting up the Docker environment. This is safe to ignore.
Wireshark Unable to Access Files
If Wireshark is unable to open your container’s working directory (/workspaces/networking), you may need a full reset of all containers, both used and unused. That is, if you try to open a file and see a blank screen in the list of files and directories from Wireshark’s GUI, this is the section to consult.
For Windows and macOS Hosts (Docker Desktop)
Navigate to Docker Desktop’s whale menu. For Windows hosts, the Docker icon is on your taskbar to the lower right corner of your screen, and you can right-click it for the whale menu. For macOS hosts, the Docker icon is on your menu bar on the top right corner. Click it for the whale menu.
One of the menu items is labeled Troubleshoot, and clicking this brings up the Docker Desktop GUI. You should see the following options:
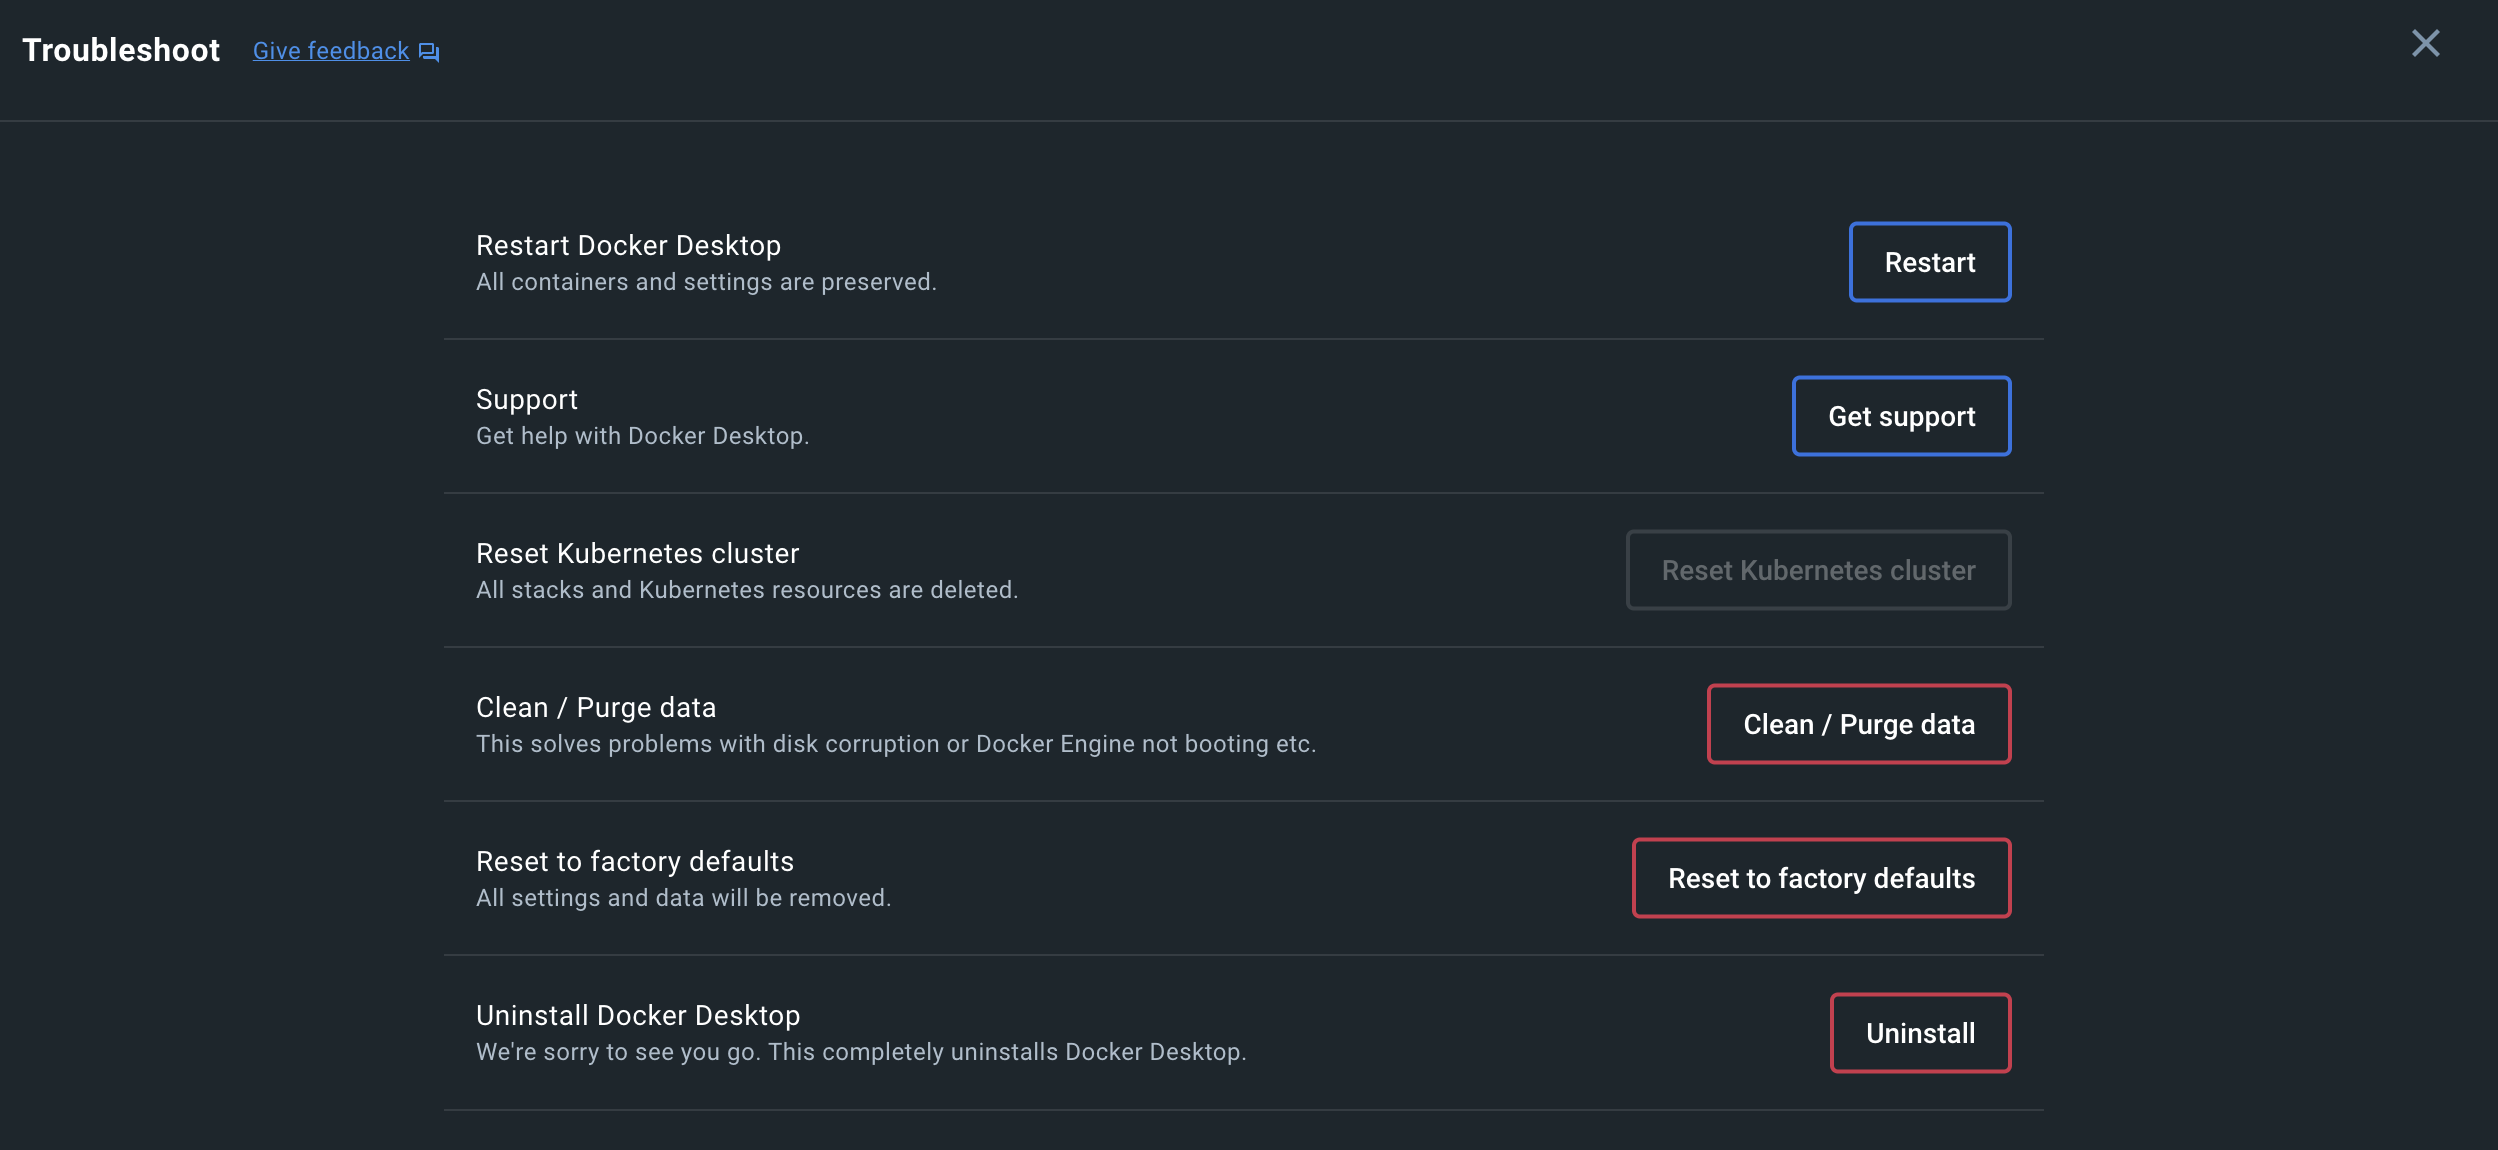
Select the Clean/Purge Data and Reset to factory defaults options. The next time you use the Dev Containers extension in VS Code, it should automatically start pulling images and rebuilding your containers.
For Linux Hosts (Docker Engine)
Since we recommend Docker Engine instead of Docker Desktop in our Docker Guide due to bugs, a hard reset needs to be done through the command line. Open your terminal, and enter the commands below.
First, remove all images stored locally:
$ sudo docker rmi $(sudo docker images -q)
Then, stop all running containers:
$ sudo docker stop $(sudo docker ps -aq)
After which you can remove all containers:
$ sudo docker rm $(sudo docker ps -aq)
And finally, to clean up more unused networks and dangling images:
$ sudo docker system prune --volumes -a -f
Wireshark Shows Project 3’s Files
If you are starting Lab 3 after completing the setup phase of Project 3 by any chance, ensure that the Docker container for Project 3 is powered off before setting up this project. (This note is also on the Project 3 writeup.)
Both containers contend on a network port to display Wireshark through your web browser, which means that container creation can potentially fail, or that Wireshark may show Project 3’s working directory when you access it through your browser (if it’s Project 3’s instance that is currently running)!
Socket Permission Error on Linux Hosts
If you are running Linux as your host operating system and encounter the following error:
Got permission denied while trying to connect to the Docker daemon socket at unix:///var/run/docker.sock: Get "http://%2Fvar%2Frun%2Fdocker.sock/v1.24/containers/json?all=1&filters=%7B%22label%22%3A%7B%22com.docker.compose.project%3Dnetworking%22%3Atrue%7D%7D&limit=0": dial unix /var/run/docker.sock: connect: permission denied
Please run the following command:
$ sudo chmod 666 /var/run/docker.sock
However, if the error is not resolved after changing permissions as the above, please make a Piazza post.